Getting Started
Conda Basics
stenv defines a Conda environment, which is a set of packages installed together at specific versions.
A Conda environment is designed to be isolated from system packages, and can be activated to switch the
current context (PATH, environment variables, available binaries, Python installation, etc.) to an isolated
instance that is separate from the system. (This is similar to using source bin/activate, if you are
familiar with Python virtualenvs). This has the advantage of allowing several separate installations of
Python packages and other tools without cluttering the system installation, allowing switching between use
cases or package contexts at will.
Installation
Install Conda
A Conda distribution provides the conda command, which lets you create, manage, and activate new
environments. Try running the conda command in your terminal. If you get conda: command not found
(or similar), you will need to install a conda distribution. If you already have a conda command in
your terminal, you can skip to the next step.
The easiest option is to install Miniconda, which is full-featured but installs a minimal set of default packages initially. We will install more packages later on.
Alternatives include Miniforge, which includes the
mamba command (a much faster drop-in replacement for conda with all the same functionality) and
Anaconda which provides a full-featured base environment as
well as hundreds of useful tools, libraries, and utilities by default.
Note
The below instructions will work for any of the distributions, though users with mamba installed
will notice a speedup if they substitute mamba for conda where it appears in commands.
Important
Remember to run conda init when installing. This is required in order to set up your shell to
activate and deactivate environments.
conda init
mamba init
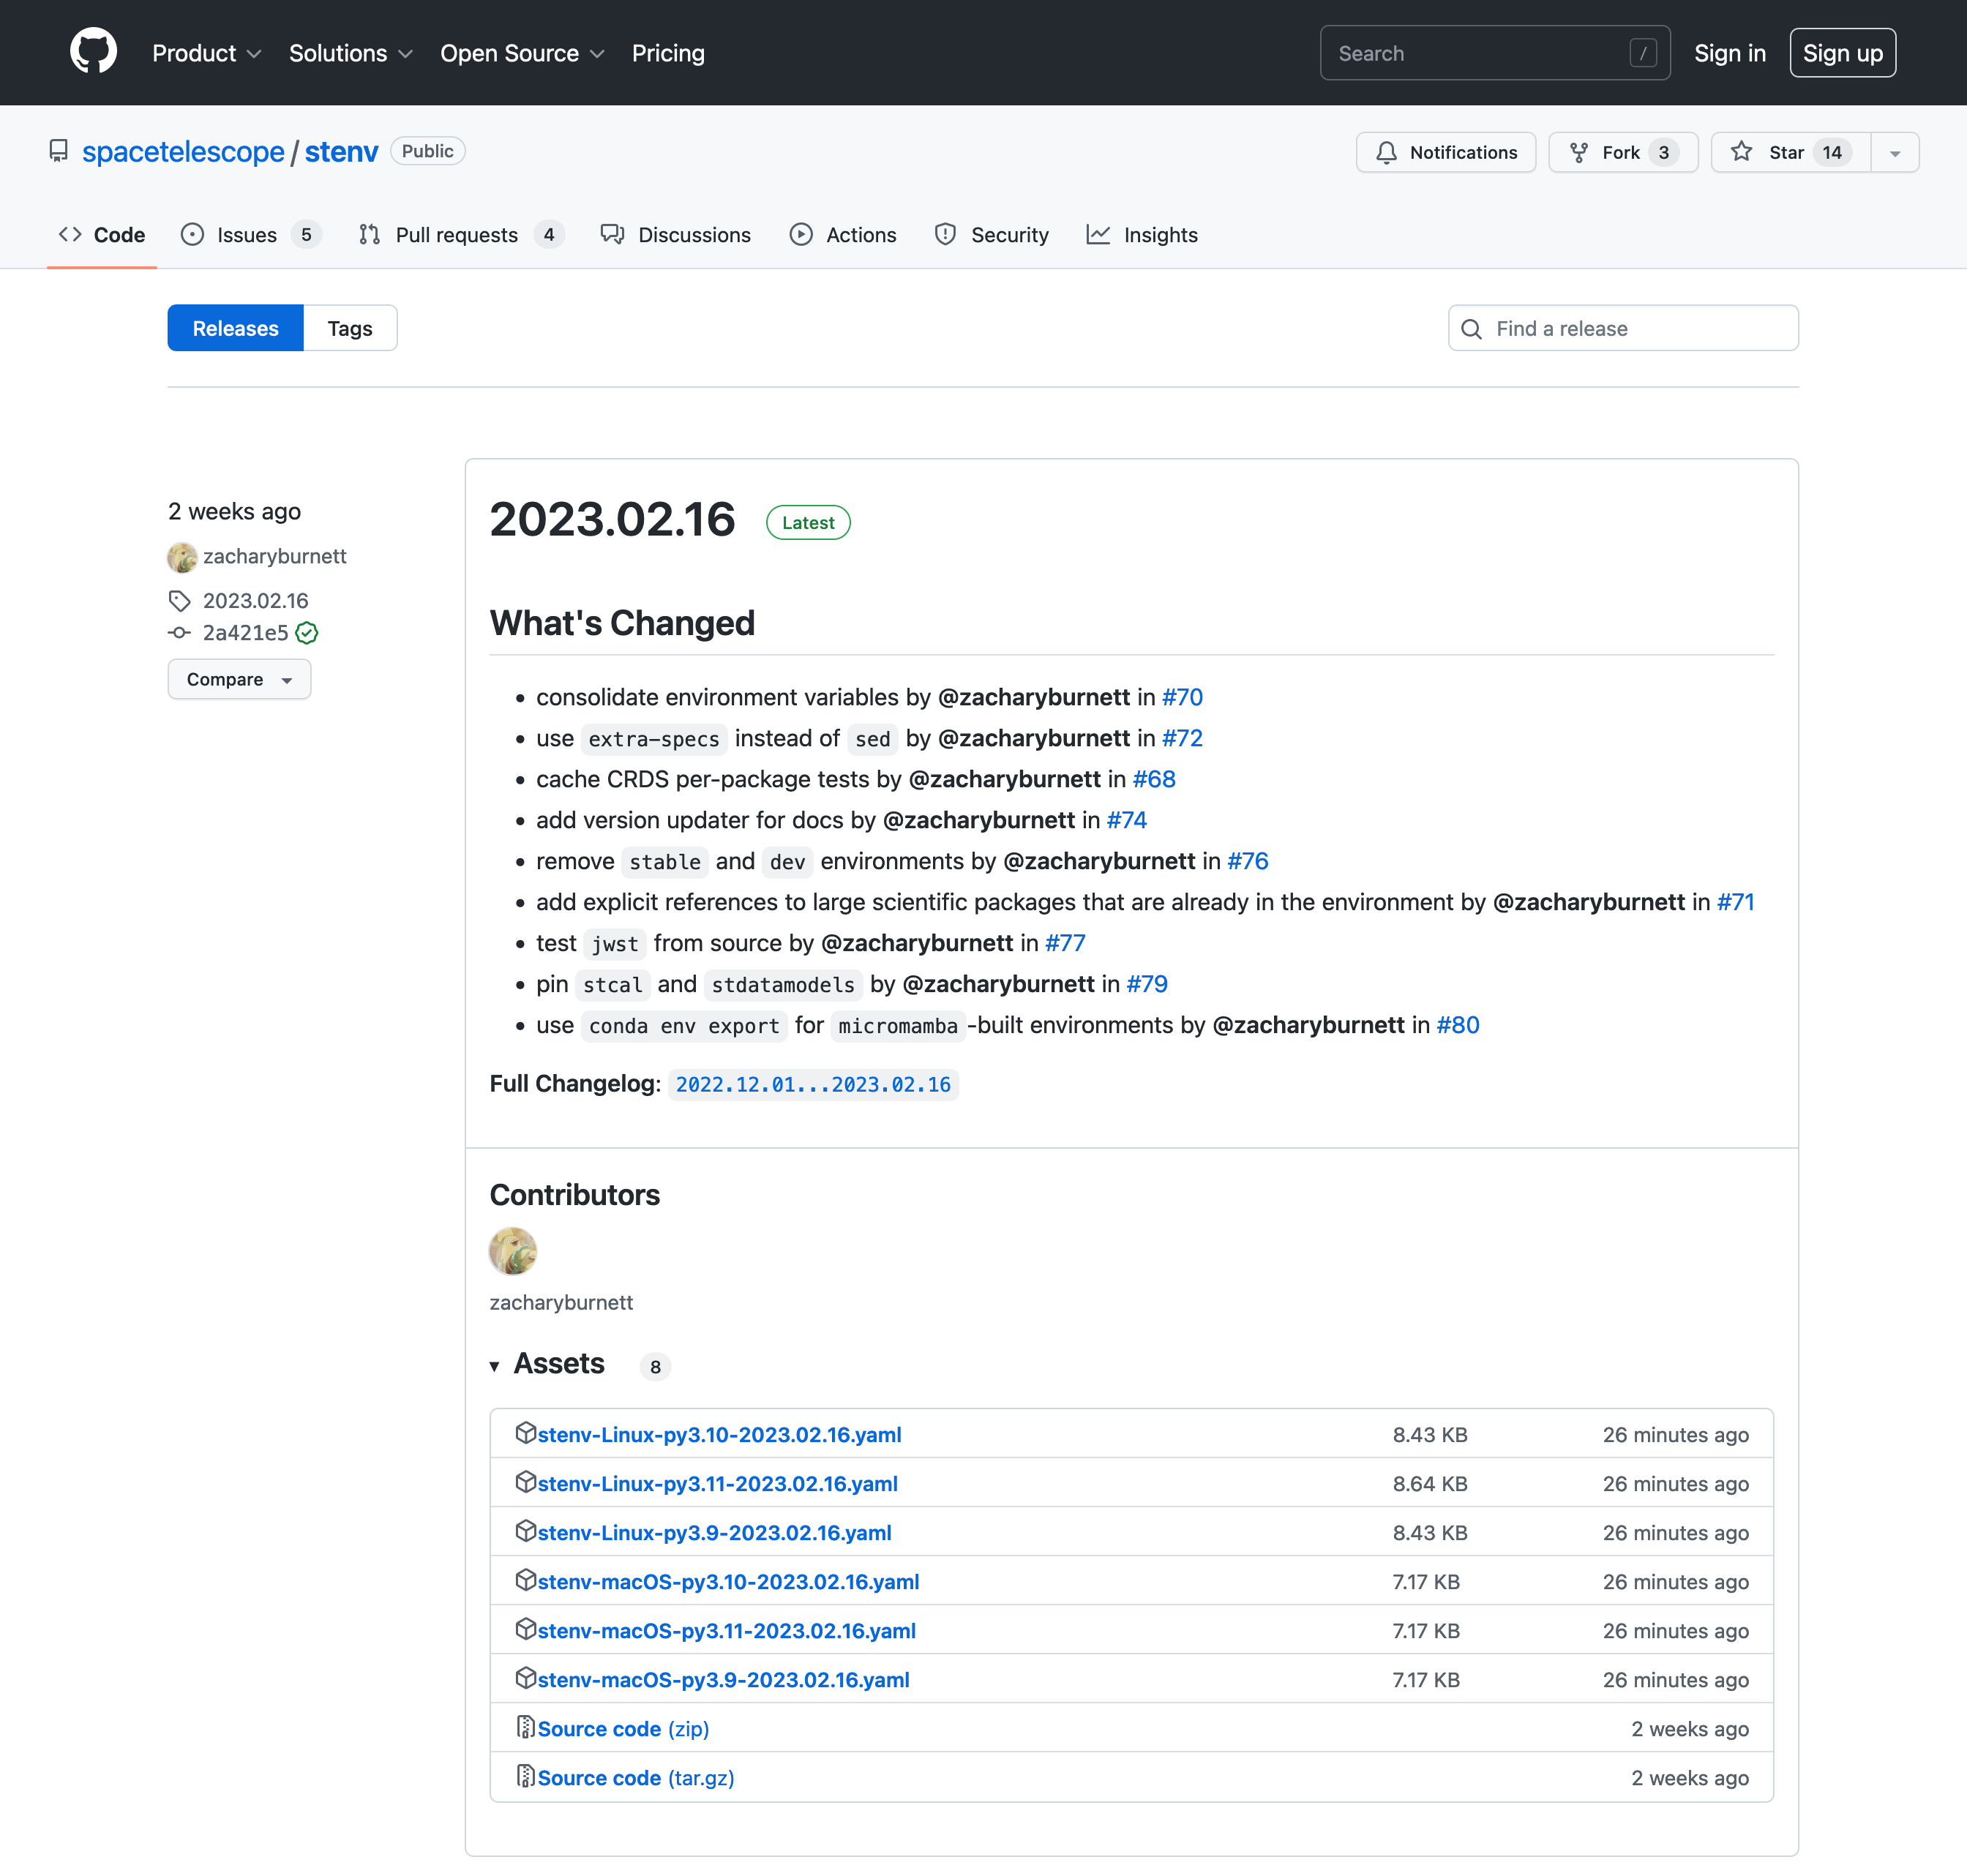
Choose an stenv release
Now that you have a Conda installation, you should choose a release of stenv from the
Releases page and choose the environment definition
file from the Assets section that corresponds with your platform.

Every release is available for several combinations of operating system and Python version.
The name of the release file indicates which is which. For example, a release of stenv for Python 3.11
on Linux will be named something like stenv-Linux-X64-py3.11-YYYY.MM.DD.yaml (where YYYY.MM.DD
is the date of the release). Unless you have particular requirements, you should choose the
newest (highest-numbered) Python version available.
Note
Version numbers aren’t real numbers; a hypothetical Python 3.20 would be newer than Python 3.2.
Warning
Can’t find the release you need? Building and testing environments on supported platforms may take several minutes; for new releases, you may need to wait for the associated workflow job to finish before environment files are available.
Note
Every Conda environment has a name, specified by the --name or -n option. If you include the
version numbers in the name, it will be easier to keep track of which version of stenv you have.
Therefore, I recommend using a more descriptive name than stenv for your environment; for example,
use something like stenv-py3.11-2023.01.01 (changed as needed to match the version you chose).
Right-click (or control-click on macOS) on the link to the release file and choose Copy Link (or
Copy Link Address). Then, run the following command in a terminal, replacing <URL> with the URL you copied in the previous
step:
conda env create --name stenv --file <URL>
mamba env create --name stenv --file <URL>
Download the release file you chose. Then, run the following command in a terminal, replacing
~/Downloads/stenv-pyXX-YY.MM.DD.yaml with the path to the file you downloaded:
conda env create --name stenv --file ~/Downloads/stenv-pyXX-YY.MM.DD.yaml
mamba env create --name stenv --file ~/Downloads/stenv-pyXX-YY.MM.DD.yaml
Note
If the build does not succeed on your system, please refer to stenv doesn’t build on my system; what do I do?
Activating an environment
Environments let you install packages while isolating them from the rest of your system, and even each other. Even though we just created an environment, we will not be able to import the new packages yet:
$ python -c 'import jwst; print("ok")'
Traceback (most recent call last):
  File "<string>", line 1, in <module>
ModuleNotFoundError: No module named 'jwst'
In order to access the packages in stenv, you must first activate the environment you just created:
Important
If you chose another name when creating the environment, use that here instead.
conda activate stenv
mamba activate stenv
Activating a Conda environment changes which Python interpreter and packages are in use for that session
(i.e. terminal window). Now, if you try to import jwst:
(stenv) $ python -c 'import jwst; print("ok")'
Every time you open a new terminal window, you will need to activate the environment before you can use
stenv software.
Note
You can show installed packages available within a Conda environment with conda list:
conda list
mamba list
To deactivate an environment and return your shell to normal, close your terminal window or run
conda deactivate:
conda deactivate
mamba deactivate
Deleting an environment
To delete an environment with all of its packages, run conda env remove --name <name>:
Important
If you chose another name when creating the environment, use that here instead.
conda env remove --name stenv
mamba env remove --name stenv